RV plumbing isn’t quite the same beast as house plumbing, your system is compact, often under pressure, and lives on wheels. When something goes wrong at 2 a.m. in a campground, you can’t just wait for a Monday morning call to a local contractor. Whether you’re dealing with a slow drain, a leaky fitting, or a complete water system failure, knowing what’s fixable yourself and what demands a mobile RV plumbing professional is the difference between a minor inconvenience and a ruined trip. This guide covers the common issues you’ll face, how to find trusted mobile RV plumbing repair near you, which repairs are within reach for a handy owner, and when to call in the pros.
Table of Contents
ToggleKey Takeaways
- Mobile RV plumbing repair near you is essential because RV systems are fundamentally different from house plumbing—they’re compact, pressurized, and experience constant vibration that causes compression fittings to leak and freeze in winter.
- Common critical issues like propane smells, black water backups, and hidden water leaks in walls require immediate professional attention, while simple fixes like clearing clogs and tightening compression fittings can save you $150–$400 in service calls.
- When searching for a trusted RV plumber, verify they have specific RV experience, ask about emergency response times, confirm they carry RV parts on the truck, and always request a written estimate and proof of insurance before work begins.
- DIY-friendly repairs include unclogging drains, tightening leaky fittings, replacing solenoid valves, and winterizing with antifreeze, but avoid tank repairs, propane work, and repairs involving structural damage.
- Monthly exterior and under-sink inspections, annual hose checks, regular tank maintenance with treatment products, and seasonal winterization prevent 90% of RV plumbing emergencies and avoid costly roadside repairs.
Common RV Plumbing Issues That Need Immediate Attention
Leaks, Clogs, and Water System Failures
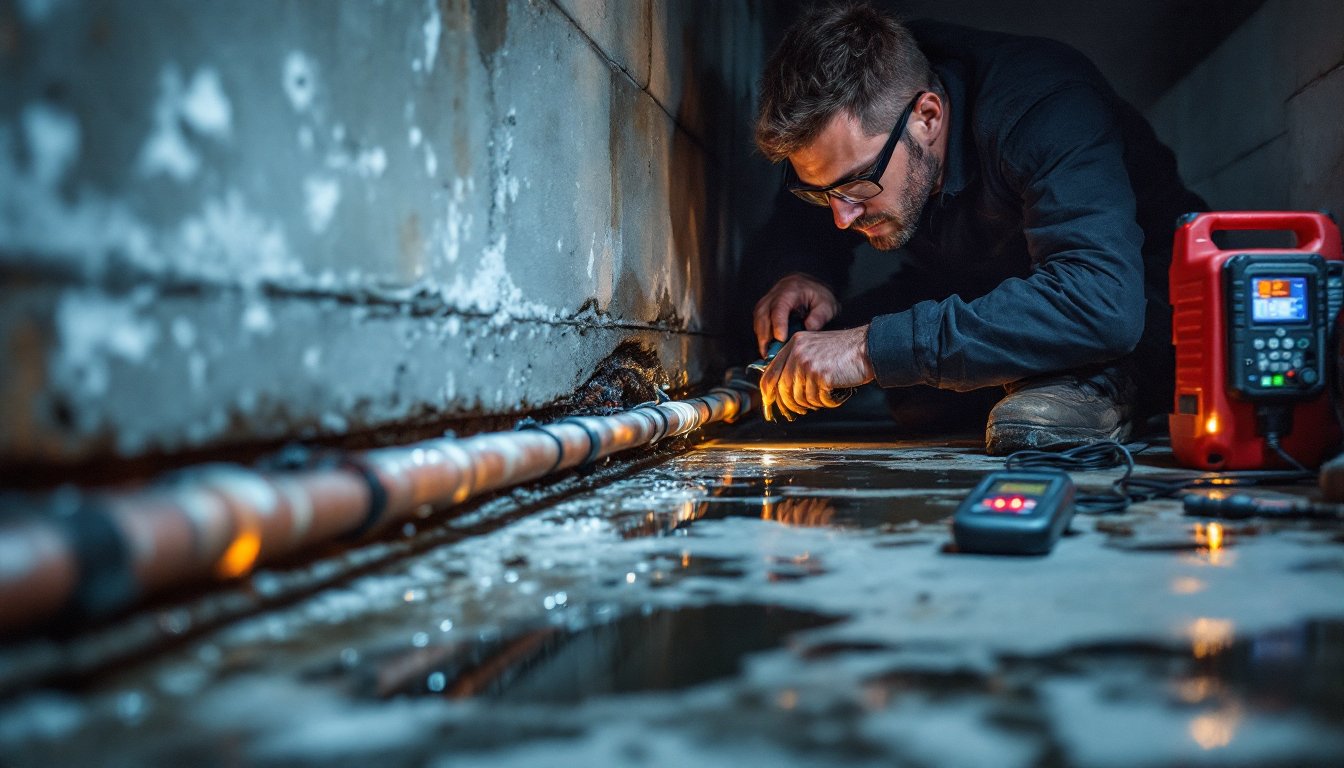
RV plumbing problems cluster into three main categories, and each behaves differently from residential plumbing. Fresh water leaks are the most common culprit, they’re usually slow, hidden inside walls or under cabinets, and by the time you notice wet carpet or soft cabinetry, real damage has happened. These often originate at compression fittings (the brass connectors threaded onto supply lines), which vibrate loose during travel or freeze and crack in winter.
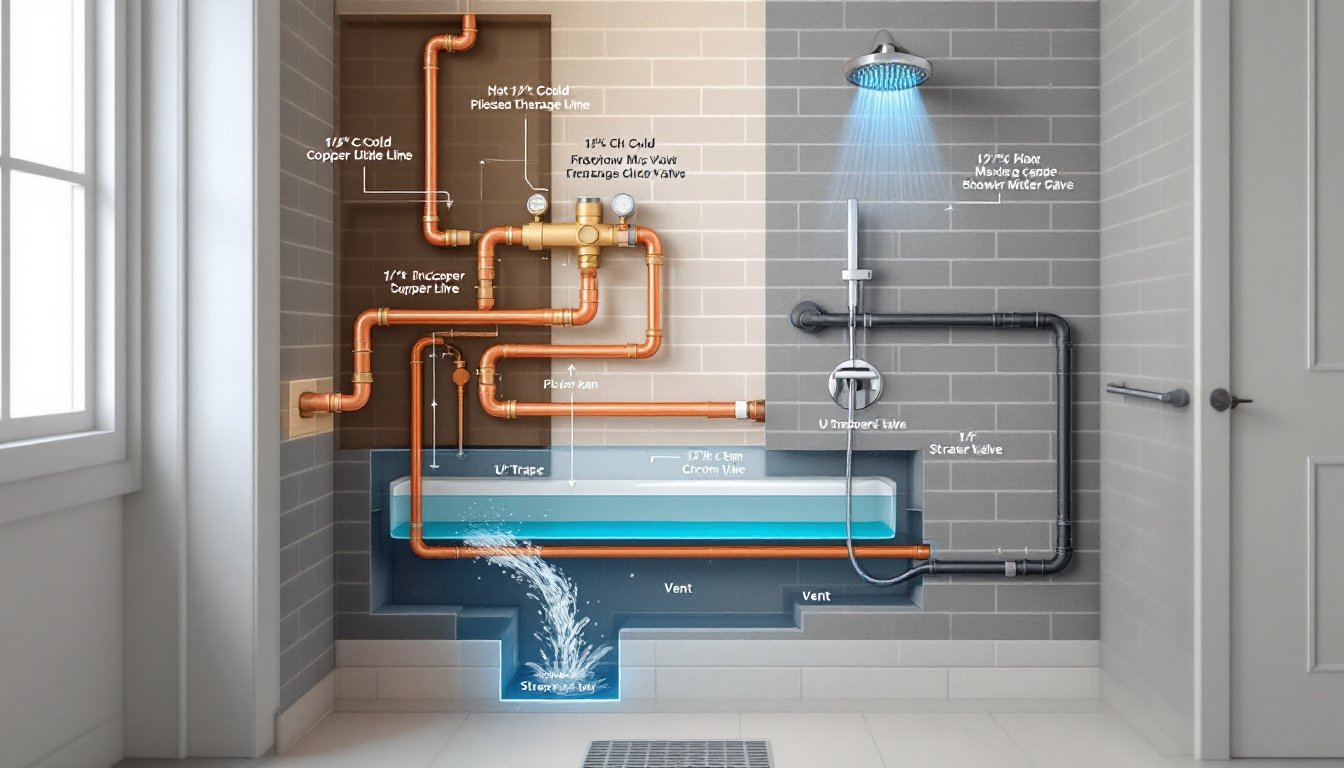
Gray water and black water backups are next. Gray water, from your sink and shower, backs up into the system when the tank is full or the drain line kinks. Black water from the toilet is worse: it doesn’t just smell, it poses health risks. Unlike your home’s gravity-fed system, RV tanks need proper venting and slope (typically 1/4 inch drop per 10 feet of run).
Water heater failures strike when least expected. RV water heaters run on propane, electric, or both, and mineral buildup from hard water clogs the heating element fast. You’ll notice no hot water, or worse, a propane smell that demands immediate professional attention for safety.
Frozen pipes are seasonal but devastating. Below 32°F, water in holding tanks and supply lines expands and ruptures the lines, sometimes splitting them completely. Owners in cold climates often winterize by blowing out lines with compressed air or running RV antifreeze through the system.
Why RVs differ: the systems are plastic or thin-wall copper, the tanks sit exposed to weather, and every gallon of water adds about 8 pounds of weight. Most issues stem from vibration, temperature swings, and the sheer compactness of the setup.
How to Find Reliable Mobile RV Plumbing Services Nearby
What to Look for in Local RV Plumbers
Not every plumber who fixes houses knows RVs. RV systems are fundamentally different, smaller components, different materials, propane integration, and waste tank design, so you need someone with specific experience. Start by asking at your RV dealer or local campgrounds: they have lists of trusted service providers and often get referrals after years of seasonal work.
When searching online, sites like HomeAdvisor and Angi let you filter by service type and read reviews from other RV owners. Look for specialists who advertise RV plumbing or mobile home plumbing, not general plumbers. Read the reviews carefully, you’re looking for someone who solved the problem quickly and showed up when promised.
Critical questions to ask before booking:
- Do they service RVs specifically, or just houses?
- What’s their response time for emergency calls (especially after hours)?
- Do they carry common RV parts (freshwater hose, tank valves, check valves) on the truck?
- Will they give a written estimate before starting work?
- Are they licensed and insured?
Licensing varies by state. Some states require plumber licenses for RV work: others don’t. Always ask for proof. Insurance is non-negotiable, if they damage your RV, you want recourse. Ask for a current Certificate of Insurance.
Cost expectations: straightforward repairs (replacing a valve, clearing a clog) run $150–$400 depending on location and complexity. Full system diagnostics or tank repairs climb quickly to $800–$2000. Get the estimate in writing and ask about warranty on the repair or any parts installed.
DIY Plumbing Fixes You Can Handle Before Calling a Professional
Not every plumbing problem requires a professional truck roll. If you’re comfortable with basic tools and willing to get wet, you can handle several common fixes yourself, saving money and downtime.
Clearing a clog is the easiest starting point. Fresh water clogs (usually mineral buildup in shower heads or faucet screens) clear with a soak in white vinegar and a brush. Drain clogs in gray tanks respond to a plumbing snake or a plunger, same as your home bathroom. Use a hand auger (a 25-foot cable auger costs $15–$40) to probe deeper. Be gentle: RV drain lines are plastic and puncture easily.
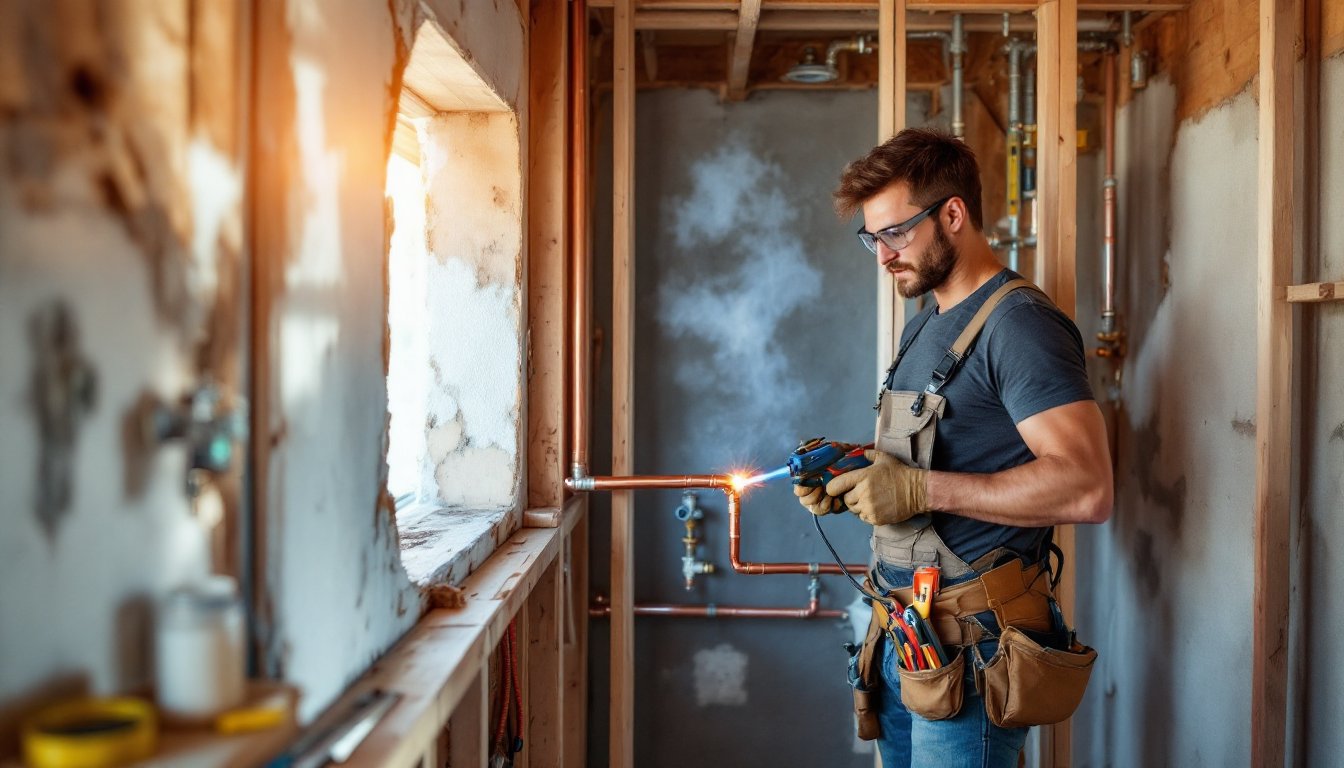
Fixing a leaky compression fitting takes 10 minutes. Shut off the fresh water pump or close the isolation valve (usually near the water heater). Locate the dripping connection, usually a brass fitting where hose meets tank or filter. Use two adjustable wrenches: one to hold the nut stationary, one to turn the hex nut on the fitting clockwise. Tighten a quarter turn, check for leaks, and repeat if needed. If it still leaks after two full turns, the seal is shot: you’ll need to replace the fitting.
Replacing a solenoid valve is doable if you’re handy. The solenoid opens and closes the fresh water supply, if water won’t shut off or won’t flow, the solenoid might be stuck. Most cost $30–$60 and swap in 20 minutes with an adjustable wrench.
Winterization (flushing antifreeze through the system to protect against freezing) is straightforward and saves big money. You’ll need RV antifreeze (propylene, never automotive ethylene, it’s toxic), a water pump converter kit ($20–$40), and an hour. Kits come with simple instructions: you bypass the fresh water tank and run antifreeze through every faucet, shower, and toilet.
When to stop: Do not attempt tank repairs, propane line work, or any repair involving a gas smell. Tanks are welded: propane is hazardous. Call a pro immediately. Mobile home plumbing issues involving structural damage (soft walls, persistent mold) also demand professional assessment.
When to Call a Mobile RV Plumber and What to Expect
Knowing when to stop tinkering and pick up the phone saves frustration and bigger damage. Call immediately if:
- You smell propane. Shut off the propane, open windows, and call from outside. This is a safety hazard, not a DIY fix.
- Black water backs up into living spaces. Waste system failure is unsanitary and requires professional tank diagnosis and possible replacement.
- Water appears in walls or soft cabinetry. Hidden leaks cause mold and structural rot. A pro can locate the source with pressure testing.
- The fresh water pump won’t cycle on or the system loses pressure suddenly. This signals a major leak or pump failure.
- You’re not confident. Frankly, if you’re uncertain, call. Mistakes cost way more than a service call.
What happens when the mobile RV plumber arrives: They’ll arrive with a diagnostic checklist, testing water pressure, checking tank levels, running water through every fixture, and inspecting visible lines and connections. A comprehensive diagnostic takes 30–60 minutes. They’ll give you the findings and a written estimate. Expect them to ask about when the issue started, what you’ve already tried, and any recent weather or travel that might’ve caused it.
The repair itself depends on the issue. A clog clear takes 30 minutes: a water heater replacement takes 2–3 hours and runs $500–$1200 parts plus labor. Most pros charge hourly labor ($75–$150/hour depending on region) plus parts at marked-up cost. Ask upfront how they’re billing, some charge flat rates for common repairs, others bill time and materials.
Preventive Maintenance Tips to Avoid Future Plumbing Problems
An ounce of prevention keeps you out of roadside plumbing hell. Most RV plumbing failures are avoidable with routine checks and simple habits.
Monthly inspections are your best defense. Walk around your RV’s exterior (where tanks and lines are exposed) and look for wet spots, drips, or discoloration. Open cabinetry and check under sinks for soft wood or mold, both signs of slow leaks. Listen to the fresh water pump: it should cycle smoothly. If it runs continuously or cycles rapidly, pressure is dropping somewhere.
Winterize before winter. If you’re in a cold climate or storing the RV, run RV antifreeze through the entire system. Don’t skip this: one frozen line costs $300–$800 to replace. Conversely, dewinterize in spring by flushing fresh water through for several minutes to clear any remaining antifreeze.
Manage water tanks carefully. Gray and black tanks need regular dumping, let them fill to about 3/4 capacity, then dump at proper disposal stations. Never let them sit full for weeks. The buildup hardens and clogs outlet valves. Add holding tank treatment (bacteria-based products, $5–$10 per dose) monthly to break down solids and odor: this extends tank life significantly.
Check supply hoses annually. RV freshwater hose deteriorates from UV and temperature swings. Inspect for cracks, soft spots, or discoloration. Replace if unsure: a new hose costs $15–$40 and beats a leak that ruins cabinetry. Use drinking-water certified hose only, standard garden hoses leach chemicals.
Test the water heater. At the start of each season, run hot water and confirm it heats. Drain and flush the tank if you’ve been in an area with hard water: sediment clogs the heating element. Understanding your single mobile home plumbing diagram helps you locate valves and components for these checks.
Protect against freezing. Insulate exposed lines with foam pipe wrap ($1–$3 per foot) in cold climates. Park in shade in summer to slow tank heating and bacterial growth. Keep cabinets under sinks open in cold weather to allow heat circulation, this is a common overlooked step.
Resources like Family Handyman have detailed DIY repair tutorials that walk you through seasonal maintenance step-by-step. Spending 30 minutes quarterly on these checks prevents 90% of emergency calls.