A leaky faucet dripping at 3 a.m., a drain that moves slower than molasses, or a puddle forming under the cabinet, sink plumbing problems are annoying, costly if ignored, and often fixable without calling a plumber. Most homeowners can tackle sink plumbing repair with basic tools and patience. Whether it’s a worn-out washer, mineral buildup in the lines, or a dried-out trap seal, the issues you’re facing are usually straightforward. This guide walks you through diagnosing what’s wrong, gathering the right supplies, and executing repairs that’ll get your sink working again. Some jobs take 15 minutes: others might stretch to an hour. All are doable if you’re willing to get your hands wet.
Table of Contents
ToggleKey Takeaways
- Most sink plumbing repair jobs are DIY-friendly and can be completed in 15 minutes to an hour with basic tools like an adjustable wrench, screwdrivers, and a plunger.
- Diagnose the specific problem first—whether water is pooling under the sink, dripping from the faucet, or the drain is slow—because the repair method depends on identifying the exact leak or clog source.
- Faucet leaks in compression and cartridge models typically require replacing worn washers, O-rings, or cartridges; always use plumber’s tape on threaded connections to prevent future micro-leaks.
- Clear clogs by starting with simple fixes like removing debris from the stopper and using a plunger, then progress to snaking or removing the P-trap only if initial methods fail.
- Replacing a leaking or corroded P-trap is one of the easiest sink plumbing repair tasks—just measure your existing trap, hand-tighten new connections, and snug with a wrench without over-tightening.
- Call a professional plumber if the wall drain pipe is corroded, the drain stub is cracked, or you encounter structural damage beyond basic component replacement.
Diagnose Your Sink Problem
Before you touch a wrench, figure out exactly what you’re dealing with. Is water pooling under the sink or just dripping from the faucet? Is the drain slow everywhere or just at that one sink? The diagnosis determines your next move.
Identifying Leaks and Drips
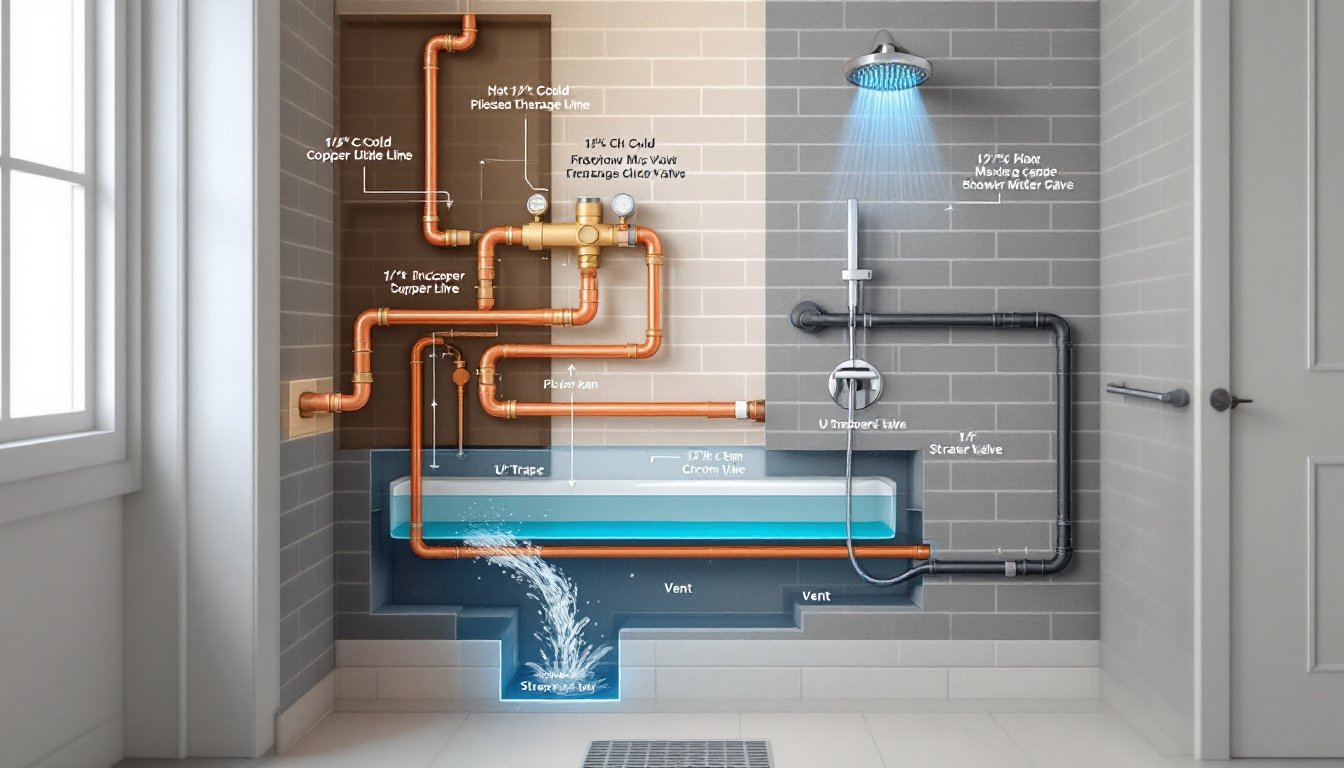
Leaks fall into two categories: water pooling under the sink or dripping from the faucet itself. For drips, turn off the water supply (look under the sink for shutoff valves) and let the faucet sit dry for a few minutes. If water still trickles, the issue is usually a worn cartridge, valve seat, or washer inside the faucet body. If pooling water appears under the cabinet, check whether it’s coming from the faucet connection points (where the supply lines attach), the drain assembly, or the P-trap (the curved pipe section below the sink). Mark the wettest spot with a paper towel, it’ll tell you which component is leaking. Some older faucets use washers and seat assemblies: modern ones often use sealed cartridges. Knowing which type you have matters for repairs.
Slow or Clogged Drains
A slow drain isn’t always a full blockage. Fill the sink with a few inches of water and listen. Does it drain completely but slowly, or does it back up? If water drains slowly across your home’s sinks and toilets, you might have a main line issue, call a pro for that one. For a single slow sink, the problem is usually sediment buildup in the drain trap, a hair clog in the stopper mechanism, or mineral deposits if you have hard water. Try the simple fix first: remove the stopper, pull out trapped hair and gunk, then run hot water for 30 seconds. If that doesn’t help, move to the P-trap removal (covered below). A completely blocked drain that backs up immediately needs clearing before you investigate further.
Essential Tools and Materials You’ll Need
Stock your toolkit before you start. Most sink repairs need just a handful of basics.
Tools:
- Adjustable wrench or basin wrench (makes tight spaces under the sink easier)
- Flathead and Phillips screwdrivers
- Bucket (water will spill)
- Flashlight or headlamp
- Plunger (cup-style for sinks)
- Auger or plumbing snake for clogs
- Channel-lock pliers
Materials:
- Replacement washers and O-rings (various sizes)
- Plumber’s tape (also called Teflon tape or thread seal tape)
- Plumber’s putty for sealing drain connections
- P-trap replacement kit (if needed)
- Supply line hoses (1/2-inch nominal is standard for most sinks)
- Bucket, towels, and newspaper to catch water
For Home Depot Plumbing Tools, you’ll find most of these items in stock, and staff can help match washer sizes to your faucet type if you bring a photo. Having the right wrench size and plumber’s tape prevents stripped connections and leaks.
How to Repair Leaking Faucets and Connections
Faucet leaks usually stem from worn internal seals. The fix depends on whether you have a single-handle cartridge faucet, a two-handle model, or a compression faucet.
For compression faucets (older two-handle types):
- Turn off the water supply under the sink. Open the faucet to release trapped pressure.
- Remove the handle (usually a screw under a decorative cap). Once the handle is off, unscrew the packing nut with an adjustable wrench.
- Lift out the stem. The worn washer sits at the bottom, held by a screw. Replace the washer with a matching size (bring the old one to the store if unsure).
- While you’re in there, inspect the valve seat (the surface the washer closes against). If it’s pitted or rough, replace it using a valve seat wrench, or simply smooth it with fine sandpaper if the damage is minor.
- Reassemble, hand-tighten everything, then snug with the wrench. Turn the water back on gradually and test.
For cartridge faucets (single-handle or two-handle):
- Shut off the water and drain the faucet by opening the handle.
- Remove the decorative cap or plug on the faucet handle (use a thin flathead screwdriver or your fingernail). Unscrew the handle screw and lift off the handle.
- Using a cartridge puller tool (if needed: some models slip out by hand), remove the cartridge. Many hardware stores stock universal pullers for under $15.
- Replace with an identical cartridge. O-rings on the new cartridge should come pre-lubricated: don’t skip this. Reinstall in the same orientation.
- Reassemble the handle and test. Many drips stop immediately once the cartridge is replaced.
For leaking supply lines or connections:
If water pools where the supply lines connect to the faucet inlet, the connection is loose or a washer is failed. Tighten the hex nut at the connection with an adjustable wrench, turn clockwise. If tightening doesn’t stop the drip, proceed to step 2: turn off the water, unscrew the connection, and inspect the compression washer inside the nut. Replace it if it’s cracked or flattened. Wrap the faucet inlet threads with plumber’s tape (3-4 layers, overlapping) before reconnecting. This prevents micro-leaks at the joint.
Many homeowners find instructions for fixing a leaky faucet helpful for reference during the job, especially if you’re working with an unfamiliar faucet type.
Clear Clogs and Restore Drainage
Before you disassemble anything, try the simple fixes. Many clogs sit in the first 12 inches of pipe or in the stopper itself.
Step 1: Clean the stopper and visible debris
Remove the sink stopper (twist counterclockwise or lift straight up, depending on the model). Hair and gunk accumulate here. Rinse it, then use your fingers or tweezers to pull any visible hair from the drain opening.
Step 2: Use a plunger
Fill the sink with 4-6 inches of water. Block the overflow hole (small hole on the side of the sink) with a wet cloth. Place the plunger cup over the drain, press down hard, and pump 15-20 times rapidly. The suction often dislodges shallow clogs. Drain the water and test.
Step 3: Auger or snake the drain
If the plunger didn’t work, insert a plumbing auger into the drain. Crank the handle while applying gentle downward pressure. You’ll feel resistance when the auger hits the clog. Twist and push to break it apart, then retract the auger. Run hot water for 30 seconds to flush debris.
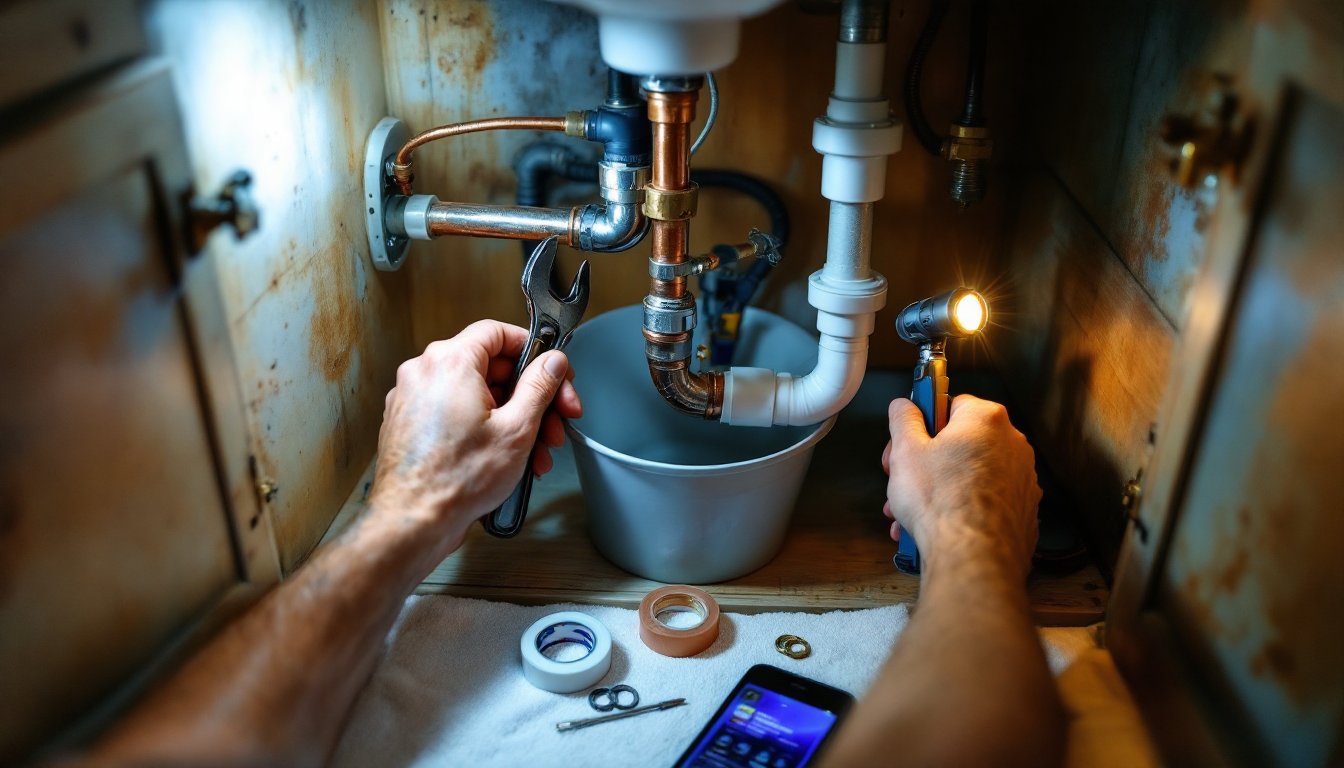
Step 4: Remove and inspect the P-trap
If snaking doesn’t clear it, the blockage is deeper or in the trap itself. Place a bucket under the P-trap to catch water. Using an adjustable wrench or channel-lock pliers, loosen the large slip nuts (the hexagonal fittings) on both ends of the curved trap section. Once loose, unscrew by hand and pull the trap down. Water inside will drain into the bucket. Use a flashlight to look inside the trap, you’ll often spot hair clumps or debris. Flush the trap over the bucket with hot water or use an auger to push debris through. Reassemble, hand-tightening the slip nuts first, then snug them with the wrench. Check that the rubber washers inside the nuts are present and not cracked before reassembly.
Mineral deposits (common in hard-water areas) can also slow drains. A solution of equal parts white vinegar and hot water poured down the drain, left for 30 minutes, then flushed with hot water, often improves flow. For stubborn buildup, you can soak the trap in vinegar overnight before reinstalling it.
Replace a Sink Trap or P-Trap
A leaking P-trap, or one that’s corroded or cracked, needs replacement. The good news: it’s one of the easiest plumbing repairs a homeowner can do.
Materials:
You’ll need a replacement P-trap assembly (available in chrome, plastic, or stainless steel). Measure your existing trap’s diameter (1.5 inches is standard for most sinks) and the distance between the drain outlet (above) and the wall drain (the stubout pipe). Bring these measurements to the store, or buy an adjustable P-trap kit that fits multiple configurations.
Steps:
- Place a bucket under the trap to catch residual water. Using your wrench, loosen and unscrew the two large slip nuts holding the trap in place. The trap will drop, have the bucket ready.
- Disconnect the new trap from any packaging and check that it includes rubber washers inside each slip nut. If not, salvage washers from the old trap (they’re often reusable).
- Align the new trap. The top connection should slip onto the drain stub coming from the sink, and the bottom outlet should reach the wall drain pipe. If the fit is loose, you may need to adjust the trap arm or bend the drain extension slightly.
- Hand-tighten the top slip nut first, then the bottom. Once hand-tight, use the wrench to snug each nut a final quarter-turn. Over-tightening cracks the plastic or strips the threads.
- Turn the water on and let it run through the sink for 30 seconds. Check both slip nut connections for drips. A tiny weep (one drop per minute) is normal for the first few minutes as air escapes: continuous dripping means the connection needs tightening. Stop when dripping ceases.
Keep the old trap for a few days. If the new one leaks, you can swap back while you troubleshoot (often just a washer issue). Many DIYers turn this into a step-by-step instructional project to document before disassembling, which helps during reassembly.
If the wall drain pipe is corroded or missing threads, or if the drain stub from the sink is cracked, you’ve moved beyond trap replacement into bigger structural issues. That’s the moment to call a licensed plumber, attempting to epoxy or patch drain lines can lead to leaks inside walls.