Shower plumbing might not be glamorous, but it’s one of the systems that gets daily use and rarely forgives neglect. Whether you’re troubleshooting a leak, planning a bathroom remodel, or just curious about what’s behind your shower wall, understanding the essential parts of shower plumbing puts you in control. This guide breaks down the main components, from the water supply to the drain, so you’ll know what’s happening when something goes wrong or when you need to talk to a plumber. No jargon overload, just practical knowledge.
Table of Contents
ToggleKey Takeaways
- Understanding the main water supply line and shut-off valve is your first line of defense for any shower plumbing emergency or repair project.
- The mixing valve controls temperature and pressure behind your shower wall, and replacing worn cartridges every 5-10 years prevents leaks and maintains safe operation.
- Modern aerating showerheads deliver strong spray while staying within the 2.5 GPM federal efficiency standard, making them ideal for water conservation.
- Your shower drain system relies on a P-trap that holds standing water to block sewer gases and pests, requiring regular hair cleaning to prevent clogs.
- Proper ventilation in your drainage system is essential—blocked vent lines cause slow drains and gurgling sounds, so inspect roof vents periodically.
- Learning how shower plumbing systems work empowers you to troubleshoot minor issues, plan renovations, and communicate effectively with plumbers.
The Main Water Supply Line and Shut-Off Valve
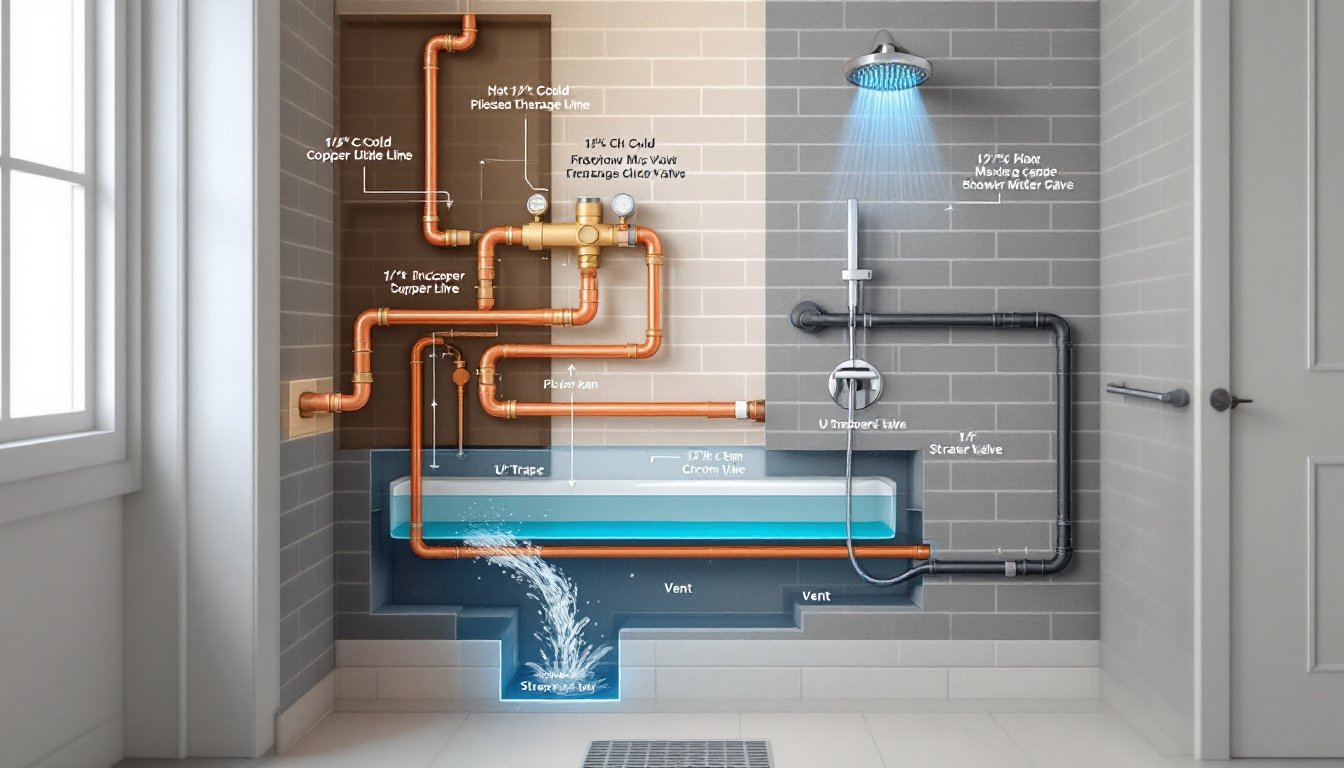
Every shower starts with water coming from your home’s main supply line. This is typically a ½-inch or ¾-inch copper, PEX, or PVC pipe that carries pressurized water throughout your house. Your shower’s water comes from this main line, usually passing through a dedicated branch line that feeds your bathroom.
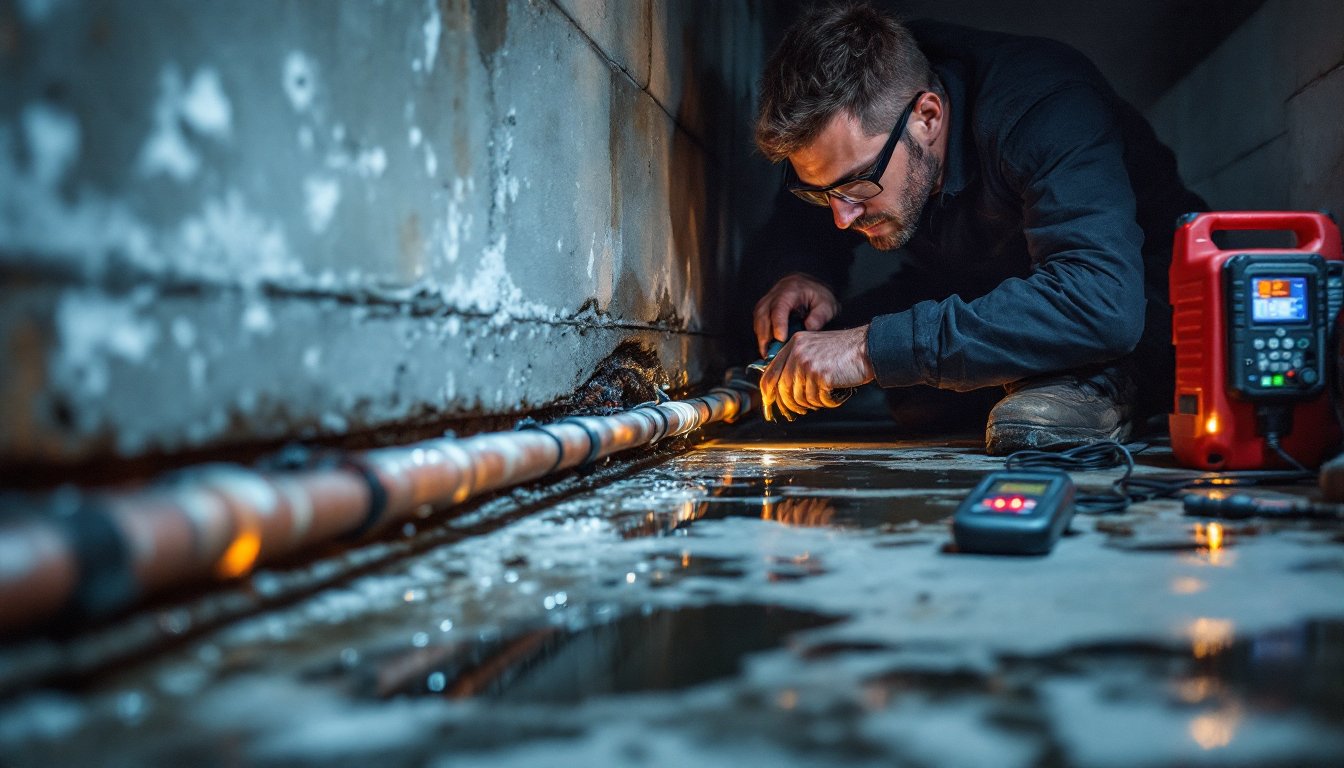
The most important safety component is the shut-off valve, also called a stop valve or isolation valve. Ideally, you should have one for your entire bathroom or, even better, a dedicated shut-off valve just for the shower. If you ever need to repair a fixture, drain the system, or deal with a burst pipe, knowing where this valve is located and making sure it works is your first line of defense. Test it now if you’ve never done so: a valve that hasn’t been used in years can seize up.
Look for this valve near the main water meter or where the water supply enters your home. It should be labeled, but if it isn’t, trace the pipes. The valve handle should rotate 90 degrees, parallel to the pipe shuts off water, perpendicular allows flow. If it’s stubborn, don’t force it: call a plumber rather than risk breaking it. When planning a shower renovation or dealing with plumbing for showers, knowing your shut-off system is fundamental. Building a new home? Understanding where New Home Construction Plumbing fits into the bigger picture helps you plan maintenance access.
Mixing Valve and Temperature Control
Once water reaches your shower, the mixing valve (also called a rough-in valve or trim valve) is the heart of temperature and pressure control. This component sits behind your shower wall and blends hot and cold water to a safe, comfortable temperature. The valve prevents scalding by limiting how hot the water gets, and it balances pressure so a toilet flush doesn’t suddenly send scalding water your way.
Two common types exist: single-handle valves control both flow and temperature with one lever, and two-handle valves use separate hot and cold handles. Modern homes increasingly use thermostatic mixing valves or pressure-balancing valves, which automatically compensate for pressure drops and temperature swings. These are worth the extra cost if you’re replacing an older system, they make your shower safer and more predictable.
How the Mixing Valve Works
Inside the mixing valve, a spool or cartridge sits between hot and cold supply lines. As you adjust the handle, the spool shifts, opening or closing passages to adjust the ratio of hot to cold water. A built-in pressure-balancing piston or thermal element constantly adjusts for fluctuations. If someone flushes a toilet elsewhere in the house, cold water pressure drops, but the valve compensates by restricting hot water, keeping your temperature stable.
The valve body itself is typically brass, bronze, or stainless steel, durable materials that resist corrosion. Cartridges and seals inside wear out over time, usually after 5-10 years, causing leaks or difficulty controlling temperature. When this happens, cartridge replacement is often simpler than replacing the entire valve. You can find replacement cartridges specific to your valve brand at any big-box store. If you’re unsure which one you have, turn off water at the shut-off valve, remove the handle trim, and note the valve manufacturer stamped on the body. Plumbing guides on professional sites cover how shower plumbing systems work in detail if you’re planning a full replacement.
Showerhead and Arm Assembly
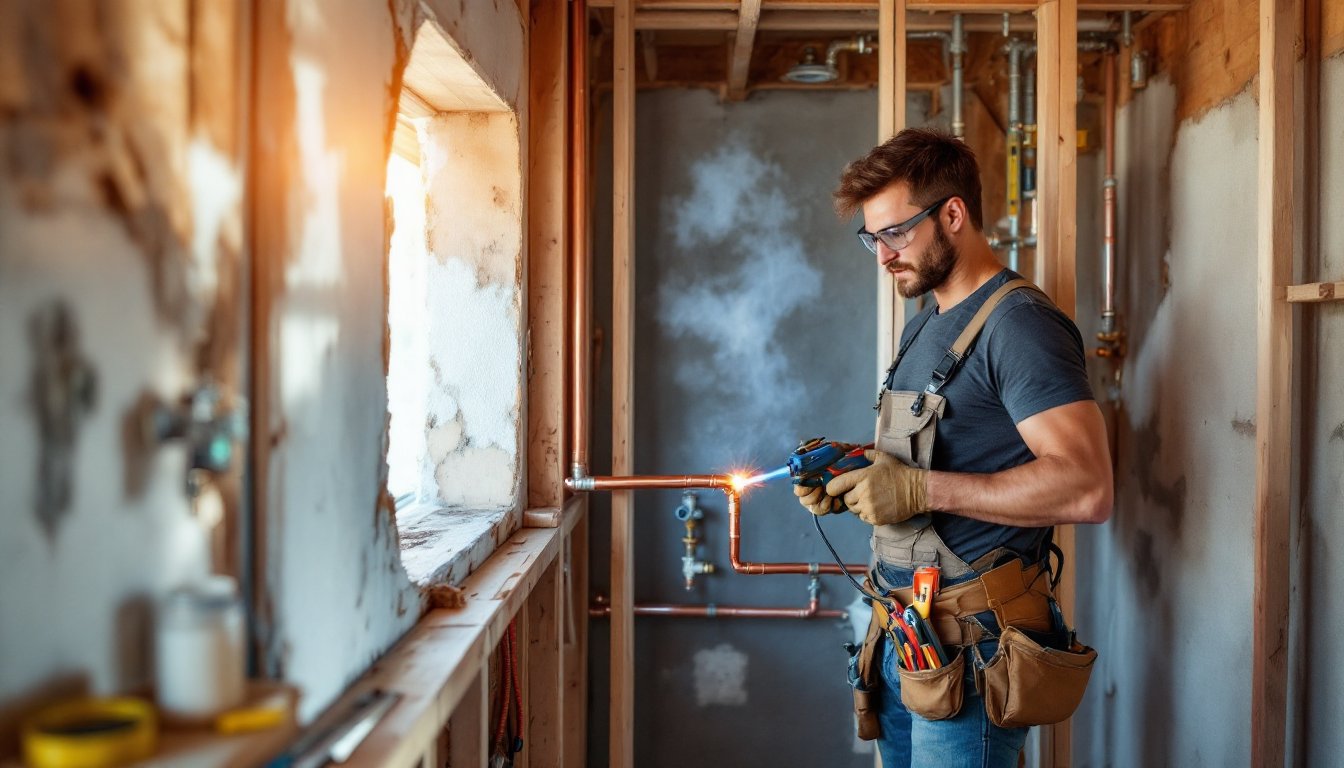
The showerhead is your most visible fixture, but it’s just the end of a more complex assembly. Water travels through the shower arm (a threaded pipe stub coming out of the wall), through the showerhead body, and exits via dozens of small nozzles or a rain-head pattern. The arm connects to the mixing valve’s outlet using compression fittings or solder (depending on your pipe type), and the showerhead screws onto the arm’s threaded end.
Showerheads come in various flow rates, measured in gallons per minute (GPM). Federal regulations cap showerheads at 2.5 GPM, though older models may deliver 3-5 GPM or more. If you want water pressure without exceeding efficiency standards, modern aerating showerheads mix water with air, creating a forceful spray on less volume. The shower arm itself is typically ½-inch galvanized steel, copper, or PEX. If the arm is corroded or leaks at the connection, it needs replacement, this often requires opening the wall, so consider calling a professional unless you’re already in a renovation.
Types of Showerheads and Performance Considerations
Fixed showerheads mount directly to the wall and can’t move. Adjustable heads install on a swiveling ball joint, letting you angle the spray. Rain showerheads provide a gentle, widespread pattern and typically sit higher on the wall or ceiling. Handheld showerheads offer flexibility and are ideal for washing hair, filling tubs, or cleaning the enclosure.
When replacing a showerhead, unscrew the old one by hand or with a adjustable wrench (wrap the arm with a rag to avoid scratching). Apply plumber’s tape (also called PTFE or Teflon tape) in clockwise wraps around the new showerhead’s threaded base, about 3-4 wraps, then screw it on hand-tight and snug with the wrench. Over-tightening can crack plastic or strip threads. If you’re building new or retrofitting, choosing the right showerhead early affects layout and mounting height. Most codes expect showerheads between 66 and 78 inches from the floor, though this varies by jurisdiction. Home Depot Plumbing Fittings and other retailers stock hundreds of options, so you have flexibility once you understand what fits your existing arm connection.
Drain and Trap System
Water doesn’t just magically disappear after it hits your body and shower floor. Every drop flows to a drain and down a series of pipes designed to prevent sewer gases and pests from entering your home. This system is equally important as the supply side, and problems here are often the culprit in mold, odor, or slow-draining issues.
The shower drain assembly sits at the lowest point of your shower floor. It typically includes a strainer (the grate you see) that catches hair and debris, a drain body that connects to the pipes below, and sometimes a removable cartridge or basket that traps lint. Hair buildup is the number-one drain complaint: regular cleaning with a plunger, a drain snake, or a wire drain comb prevents clogs. Don’t rely solely on chemical drain cleaners, they’re harsh and can damage old pipes. A manual plumbing tools approach like a hand auger is safer and often more effective.
P-Trap and Ventilation Lines
Directly below the shower drain sits the P-trap (or S-trap in older homes). This U-shaped bend of pipe always holds a small amount of standing water, the trap seal. This seal blocks sewer gases and pests from traveling back up through your drain. It’s a simple but crucial part of every plumbing code.
The P-trap connects to the drain line, which flows to your main sewer stack or septic system. Along this route, a vent line (part of your home’s drainage, waste, and vent system or DWV) allows air into the drain, so water flows freely and gases escape safely through your roof. Without proper venting, drains run slow or back up because air can’t enter. This is why you hear a gurgling sound from drains when venting is inadequate.
If your shower drains slowly even though no visible clog, the P-trap seal may be compromised, or the vent line upstairs may be blocked by leaves or nests. A professional plumber can use a camera to inspect the line: if you’re experienced, you can remove and clean the trap yourself. Turn off water, place a bucket under the trap, and unscrew the slip nuts (compression fittings with large nuts). Watch for standing water in the trap, that’s normal and necessary. Understanding the complete shower plumbing system helps you troubleshoot or explain problems to a contractor. For mobile home owners, Mobile Home Plumbing Parts systems follow similar principles but sometimes with tighter space constraints.